cleaning services
How to Safely Remove Construction Dust After Renovation
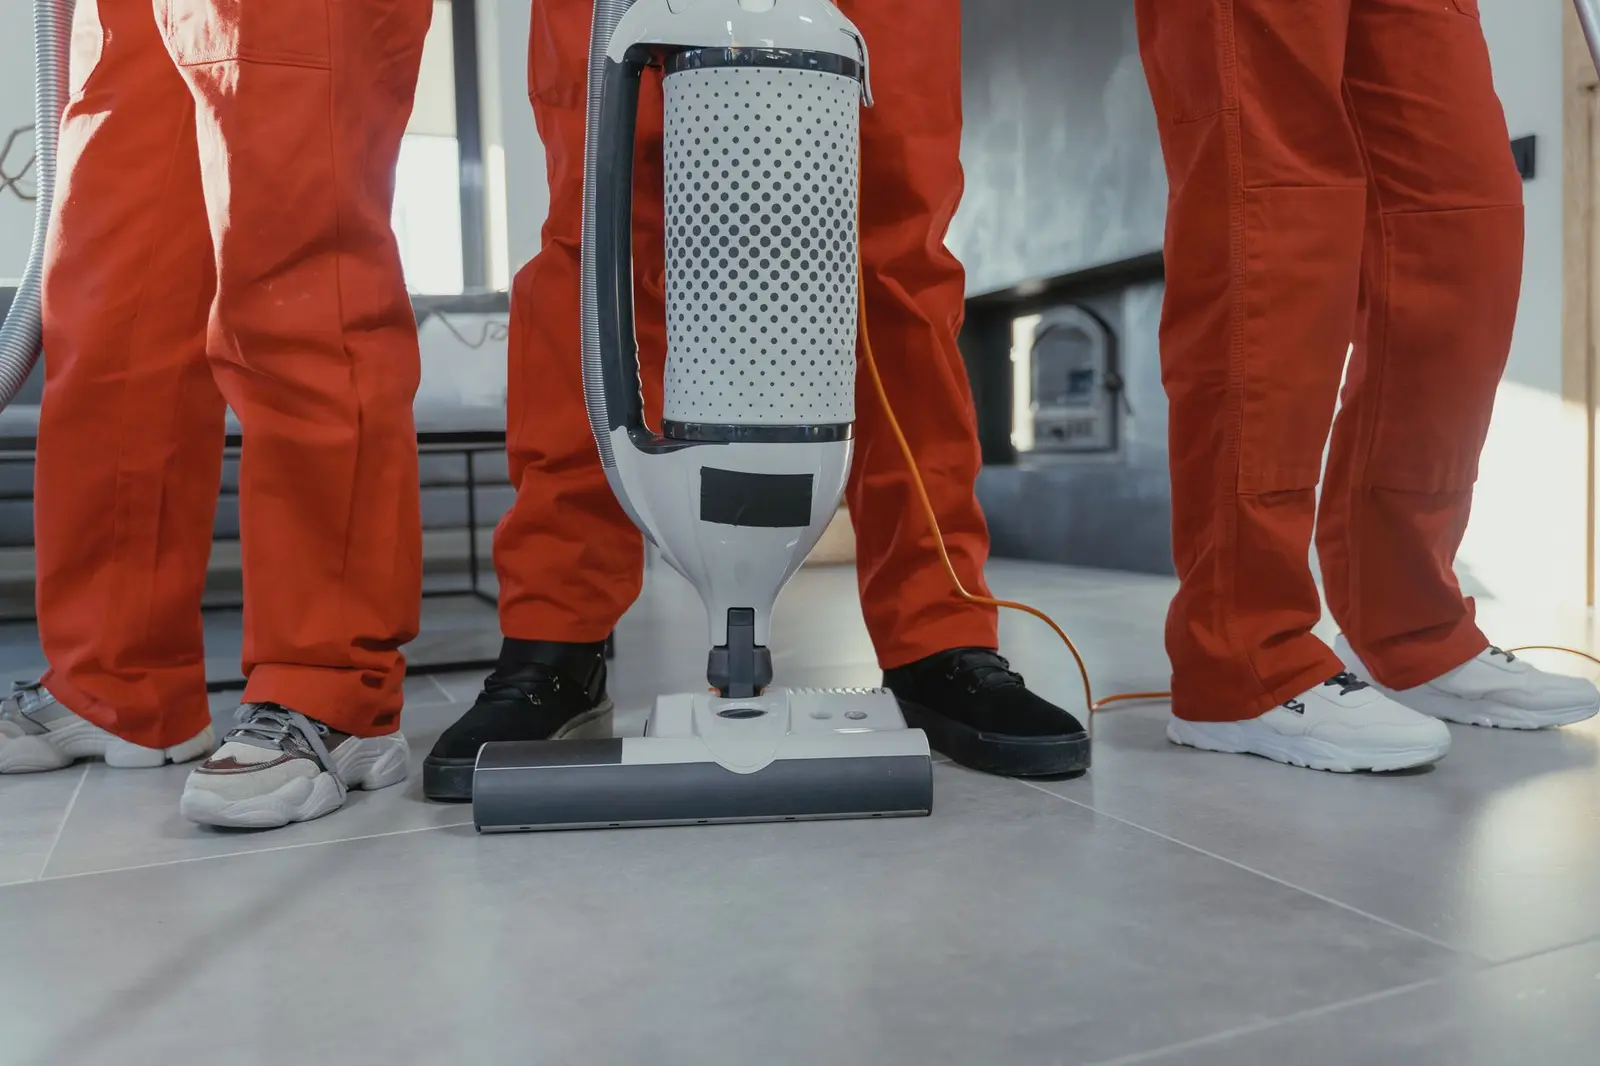
A freshly completed renovation brings great excitement, but it often comes with a massive headache: fine, white particles settled in every corner, crack, and lingering in the air. Many believe that a damp rag and a standard household vacuum are enough, only to find a chalky film reappearing within a few hours. Worse yet, using the wrong cleaning methods can easily scratch your new laminate floors or damage expensive glass.
Let's explore why construction dust is so difficult to eliminate, the risks it poses to your health and finishes, and how to clean your space step by step while following essential safety guidelines.
The Problem: Why Won't the Dust Disappear in One Go?
Construction dust differs drastically from ordinary household dust. When walls are plastered, ceramic tiles are cut, or drywall is sanded, microscopic particles scatter into the air.
Homeowners face major hurdles primarily due to three factors:
- Abrasive Structure: Particles of cement, plaster, and sand have sharp, jagged edges. When you wipe them down with a standard cloth and firm pressure, they act like sandpaper on hard surfaces, scratching delicate protective sealants and finishes.
- Hydration Capability: Construction dust does not dissolve in water; instead, it forms a thin, cement-like slurry. Once dry, this mixture leaves behind stubborn, streaky white stains on floors and tiles.
- Static Charge: Fine dust clings statically to walls, ceilings, and windows, remaining suspended in the air for days. The moment you sweep, these particles get kicked back up, only to settle on your surfaces again a few hours later.
The Dangers of Improper Cleaning
Beyond being an eyesore, improper cleaning presents two major hazards you should never overlook:
- Equipment Breakdown: Standard household vacuums are designed for coarse, fibrous debris. Fine construction dust instantly clogs standard filters, penetrates the motor housing, and leads to overheating and motor burnout.
- Health Hazards: Microscopic particles of gypsum and silica easily penetrate deep into the lungs. Working without a proper respirator can trigger severe allergic reactions and respiratory complications.
Step-by-Step Guide: Safely Removing Construction Dust
If you choose to tackle the cleanup yourself, sticking to a strict sequence is essential. Always follow the fundamental rule: work from top to bottom, and move from dry to wet methods.
1. Preparation and Safety
Before you start, equip yourself with a proper particulate respirator (dust mask) and protective goggles. Close interior doors to prevent dust from migrating into already cleaned rooms. Open windows only in the room you are currently cleaning, and avoid creating strong drafts that will blow dust back up toward the ceiling.
2. Dry Vacuuming
Never begin post-construction cleanup by mopping the floors. The first stage must always be dry extraction:
- Use a heavy-duty, professional construction vacuum equipped with a multi-stage HEPA filtration system.
- Start at the top: clean ceilings, crown moldings, and light fixtures using a soft-bristle brush attachment.
- Move down to the walls, electrical outlets, door frames, and radiators.
- Finally, vacuum the floors and baseboards thoroughly.
3. Damp Wiping with Microfiber
Only after the bulk of the dust has been extracted should damp wiping begin:
- Use specialized microfiber cloths that trap fine dust within their fibers rather than smearing it across surfaces.
- Add a professional neutral or slightly acidic cleaning solution to your water to neutralize mineral residue. Avoid standard soapy detergents, as they react with cement dust to form a sticky, cloudy film.
- Change your rinse water frequently. Mopping the floor multiple times with dirty water simply redistributes dust across the room.
4. Polishing Glass and Mirrors
Window sills and glass panes frequently have dried plaster spatters or paint flecks. Never scrape them off dry. First, thoroughly wet the surface with an appropriate cleaner and let it sit for a few minutes to soften. Then, use a specialized glass scraper held at a flat angle to gently remove dried residue. Finish with a rubber squeegee and a clean microfiber cloth.
How Much Does Post-Renovation Dust Removal Cost in Georgia?
As of 2026, homeowners in the Georgian market have a few practical options:
- Renting a Construction Vacuum: Renting a commercial-grade shop vacuum from specialized tool outlets costs between 50 and 80 GEL per day on average, plus the cost of disposable bags and replacement filters.
- Hiring a Professional Crew: Comprehensive post-renovation deep cleaning averages between 4 and 7 GEL per square meter, depending on the severity of contamination and overall area. This rate typically includes professional machinery, specialized chemicals, and full window detailing.
If you decide to hire a cleaning company, always verify that they use genuine commercial dust extractors with proper filtration, and ensure they provide clear terms of service.
Summary
Eliminating construction dust requires patience and the right technique. Remember the golden rule: begin with dry extraction using professional equipment working from top to bottom, then follow up with damp wiping using microfiber and targeted solutions. By adhering to these steps, you will protect your new finishes from scratches and create a clean, safe living environment.
- #construction dust
- #post-renovation cleaning
- #apartment cleaning
- #professional cleaning
Updated: November 16, 2026
Tips and updates
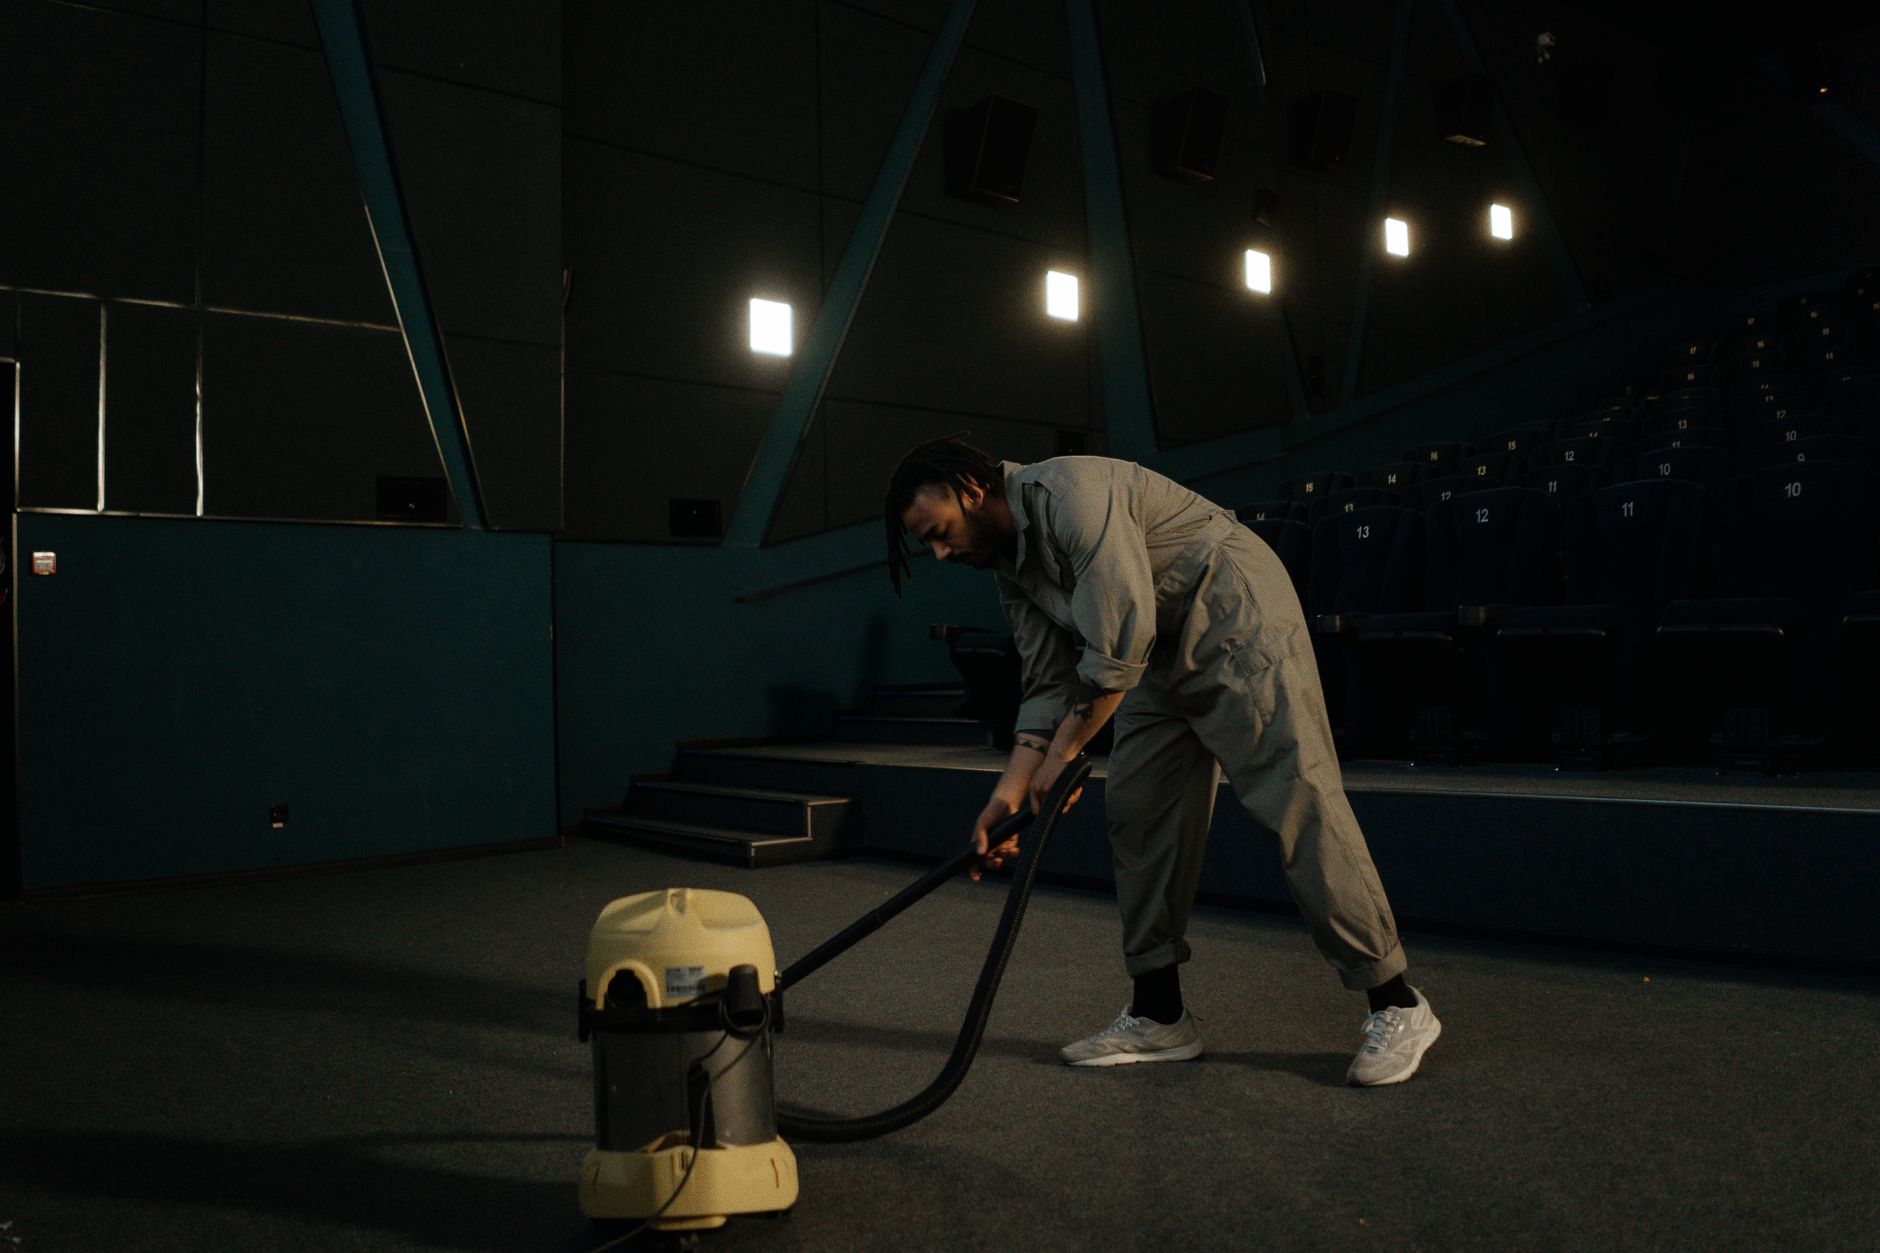 Professional Cleaning
How to Deal with Post-Renovation Dust: An Expert Approach
Discover how we transformed a 150 sq.m. apartment into a space free of construction dust: expert advice and a detailed guide from Master Cleaner.
Read more